How to Build a Local AI Server Setup at Home
Last updated: February 19, 2026 · Real hardware tested · Running 24/7 for 90+ days
In This Article
Six months ago, running your own AI meant renting GPU time from AWS at $3/hour or begging for API credits. In 2026, a Mac Mini M4 sitting under your desk runs 14-billion-parameter models faster than most cloud endpoints — and the electricity costs $12 a year.
The local AI revolution isn't coming. It's here. Projects like Ollama made running open-source LLMs trivially easy. OpenClaw lets you connect those local models to WhatsApp, Slack, and Discord. Open WebUI gives you a self-hosted ChatGPT interface accessible from any device on your network.
What you'll build: A 24/7 local AI server running Ollama (local LLMs), Open WebUI (ChatGPT-style interface), and OpenClaw (AI in your messaging apps) — all on a properly mounted, cooled, and cable-managed home setup.
Total cost: $1,200-$2,000 depending on the tier you choose.
Why Build a Local AI Server?
The Case For Local AI
- Privacy. Your prompts, your data, your conversations never leave your home network. For developers working with proprietary code, health-related queries, or financial data, local AI is the only real option.
- Cost elimination. ChatGPT Plus is $20/month. Claude Pro is $20/month. API costs for heavy users hit $100-$200/month. A Mac Mini M4 at $1,199 pays for itself in 6-12 months.
- Always available. No rate limits, no outages, no "we're experiencing high demand" messages. Your local server responds at 3am on Christmas Day.
- Unlimited usage. No token limits, no message caps, no throttling. Run as many queries as you want.
- Customization. Fine-tune models on your own data. Run specialized models for specific tasks.
The Case Against (Being Honest)
- Frontier models are still better. Claude Opus 4, GPT-5, and Gemini Ultra are still more capable than local models at complex reasoning and creative writing. Local 14B models excel at coding assistance, summarization, and routine tasks.
- Upfront cost. $1,200+ upfront versus $20/month. The math works out in 6-12 months, but the initial investment is real.
- Maintenance is on you. Model updates, software upgrades, hardware troubleshooting — there's no support team.
Our take: Run local AI for daily tasks (coding help, chat, summarization, messaging bots) and keep a cloud subscription for the 10% of tasks that need frontier reasoning. You'll save money overall and get the best of both worlds.
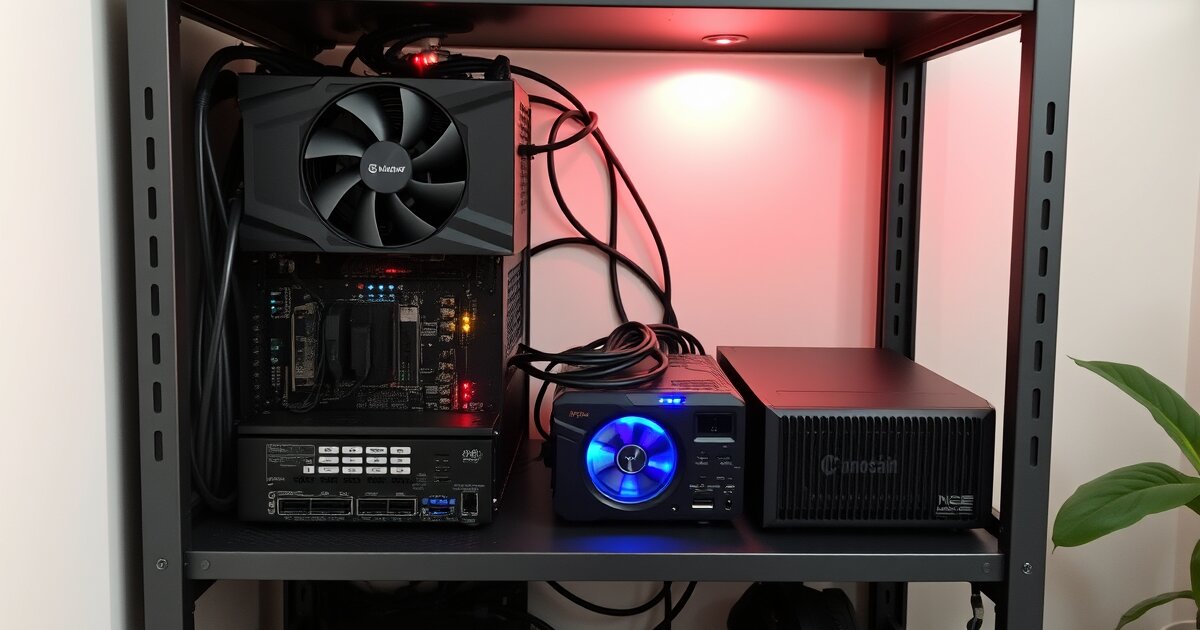
Step 1: Choose Your Hardware
We've tested multiple platforms for home AI servers and the Mac Mini M4 wins on the combination of performance-per-watt, noise, size, and unified memory architecture. An NVIDIA RTX 4090 is faster for raw inference but draws 450W, sounds like a jet engine, and costs $1,600 for the GPU alone. The Mac Mini draws 5-20W and is silent.
| Tier | Config | Price | Models You Can Run |
|---|---|---|---|
| Starter | Mac Mini M4 16GB | $599 | 7-8B params (Llama 3.1 8B, Phi-4 Mini) |
| Sweet Spot | Mac Mini M4 32GB | $1,199 | Up to 14B (Qwen3 14B, DeepSeek R1 14B) |
| Power User | Mac Mini M4 Pro 48GB | $1,799 | Up to 70B quantized (Llama 3.1 70B Q4) |
Mac Mini M4 32GB — $1,199
Runs Qwen3-Coder 14B at 18-22 tokens/second, handles multiple simultaneous models, and has enough headroom for next-gen open-source models. The 16GB is too tight for comfortable inference, and the 48GB Pro is only justified for 70B-class models.
Check Price on Amazon →Step 2: Set Up the Physical Server
Mounting
Your Mac Mini needs proper airflow — Apple designed it to pull cool air from the bottom and exhaust warm air from the rear. Sitting flat on a desk blocks the bottom intake and adds 8-12 degrees Celsius to sustained load temperatures.
Our Pick: VIVO Under-Desk Mount ($19) — Mounts your Mac Mini invisibly under your desk with full airflow on all sides. For rack setups, see our Mac Mini rack mount guide.
Power Protection
A 24/7 AI server and a power outage are a bad combination. Corrupted model files, interrupted processes, potential hardware damage. A UPS is mandatory.
Our Pick: CyberPower CP1500AVRLCD UPS ($179) — 1500VA/900W with automatic voltage regulation. Provides 5-10 minutes of battery runtime for a clean shutdown.
Networking
Wired ethernet is strongly recommended. Wi-Fi adds 2-10ms of variable latency per request. Run a flat Cat6 cable ($8 for 25ft) from your router to your Mac Mini.
Cable Management
Your AI server adds 3-4 cables minimum. Our minimum cable kit (~$30): Cinati No-Drill Cable Tray ($18) + Alex Tech Cable Sleeve ($12).
Step 3: Install the Software Stack (15 Minutes)
3A: Install Ollama (2 Minutes)
Ollama is the engine that runs local LLMs on your Mac. It handles model downloading, memory management, and provides a local API.
- Go to ollama.com and download the Mac installer
- Open the downloaded file and drag Ollama to Applications
- Launch Ollama — it runs as a menu bar app
Pull your first model:
ollama pull qwen3:14bTest it:
ollama run qwen3:14bYou now have a local AI running on your hardware. No API key, no cloud, no cost.
Other models worth pulling:
ollama pull deepseek-r1:14b      # Strong reasoning model
ollama pull llama3.1:8b           # Fast, lightweight general model
ollama pull codellama:13b         # Code-focused model
ollama pull phi4-mini             # Tiny but surprisingly capable
3B: Install Open WebUI (5 Minutes)
Open WebUI gives you a ChatGPT-style interface that talks to your local Ollama models — accessible from any device on your network.
- Install Docker Desktop for Mac
- Run the following command in Terminal:
docker run -d -p 3000:8080 \
  --add-host=host.docker.internal:host-gateway \
  -v open-webui:/app/backend/data \
  --name open-webui --restart always \
ghcr.io/open-webui/open-webui:main- Open
http://localhost:3000in your browser - Create an admin account — your Ollama models appear automatically
Access from other devices: Open http://[your-mac-mini-ip]:3000 from any device on your home network.
3C: Install OpenClaw (5 Minutes)
OpenClaw connects your local AI to messaging platforms — WhatsApp, Telegram, Slack, Discord. Your AI assistant, running on your Mac Mini, available in the apps you already use.
- Visit the OpenClaw GitHub repo
- Follow the quickstart guide for Mac
- Connect your Ollama instance as a model provider
- Link your messaging accounts
Step 4: Optimize for 24/7 Operation
Prevent Sleep
- System Settings > Energy > Prevent automatic sleeping when the display is off: ON
- System Settings > Lock Screen > Turn display off: set to your preference (display can sleep, Mac stays awake)
Auto-Start on Power Restoration
- System Settings > Energy > Start up automatically after a power failure: ON
Auto-Launch Services
- Ollama: System Settings > General > Login Items > Add Ollama
- Docker Desktop: Docker Desktop > Settings > General > Start Docker Desktop when you log in
Monitor Thermals
- Idle: 35-45°C
- Light inference (8B): 55-70°C
- Heavy inference (14B): 70-85°C
- Throttling zone: 95°C+ (improve your mounting/airflow)
Set Up Remote Access
- Screen Sharing: System Settings > General > Sharing > Screen Sharing: ON
- SSH: System Settings > General > Sharing > Remote Login: ON
Step 5: The Complete Build List
Sweet Spot Build — $1,443
| Component | Product | Price |
|---|---|---|
| AI Compute | Mac Mini M4 32GB/1TB | $1,199 |
| Mount | VIVO Under-Desk Mount | $19 |
| Power Protection | CyberPower CP1500AVRLCD UPS | $179 |
| Networking | Cat6 Flat Cable 25ft | $8 |
| Cable Management | Cinati Tray + Alex Tech Sleeve | $30 |
| Cable Ties | JOTO Velcro 50-Pack | $8 |
| Total | $1,443 |
Full Workstation Build — $2,140
| Component | Product | Price |
|---|---|---|
| AI Compute | Mac Mini M4 32GB/1TB | $1,199 |
| Desk | FlexiSpot E7 Standing Desk | $549 |
| Mount | VIVO Under-Desk Mount | $19 |
| Power Protection | CyberPower CP1500AVRLCD UPS | $179 |
| Networking | Cat6 Flat Cable 25ft | $8 |
| Cable Management | Full $77 kit | $77 |
| Monitor Light | BenQ ScreenBar | $109 |
| Total | $2,140 |
The Break-Even Math
| Your Current Spend | Break-Even ($1,443) | Break-Even ($2,140) |
|---|---|---|
| ChatGPT Plus ($20/mo) | 72 months | 107 months |
| ChatGPT + Claude ($40/mo) | 36 months | 54 months |
| API heavy user ($100/mo) | 14 months | 21 months |
| API power user ($200/mo) | 7 months | 11 months |
The sweet spot: If you're spending $40-$100/month on AI services, a local server pays for itself in 1-3 years. If you're an API-heavy developer, it pays off in under a year.
Important caveat: Local 14B models don't fully replace frontier models. Budget for keeping one cloud subscription ($20/month) for frontier reasoning tasks. Your local server handles the other 80-90% of daily usage.
Troubleshooting Common Issues
"Model is too slow" (Under 10 tokens/second)
- Check memory pressure: Activity Monitor > Memory. Red means the model is too large for your RAM.
- Drop to a smaller model: Switch from 14B to 8B if stuttering.
- Close memory-hungry apps: Chrome with 40 tabs is eating your model's RAM.
- Check quantization: Q4 models are faster than Q8 but slightly less capable.
"Mac Mini is thermal throttling"
- Check your mount: Is the bottom intake blocked?
- Add a USB fan: Drops thermals 5-8 degrees.
- Check ambient temperature: Room above 80°F combined with sustained inference pushes thermals.
- Verify dust: After 3-6 months, compressed air through the vents prevents buildup.
"Open WebUI isn't accessible from other devices"
- Check Docker is running: Docker Desktop must be running, not just installed.
- Check your firewall: Allow incoming connections for Docker.
- Use the correct IP: Run
ipconfig getifaddr en0in Terminal.
Developer Tools: Once your local AI server is running, you'll be working with API endpoints and JSON responses daily. DevToolKit.cloud has free browser-based developer tools for formatting JSON, encoding Base64, and more — no install required.
Related Articles
Frequently Asked Questions
How much electricity does a 24/7 local AI server cost?
The Mac Mini M4 draws 5W at idle and 15-22W under sustained inference. Running 24/7 with typical mixed use, expect 8-12W average. At the US average electricity rate of $0.16/kWh, that's roughly $11-$17 per year. Add the UPS (3-5W standby) and you're under $20/year total. Compare that to $240-$2,400/year in cloud AI subscriptions.
Can I use this as a server for my whole family?
Yes. Open WebUI supports multiple user accounts. Each family member creates their own login and gets separate conversation histories. The Mac Mini handles multiple concurrent users for light to moderate queries. For simultaneous heavy inference from multiple users, the M4 Pro 48GB handles the load better.
What happens when better models come out?
You just run ollama pull [new-model] and it downloads. No hardware changes needed. The open-source model ecosystem updates constantly — new models drop weekly. Your Mac Mini runs whatever fits in its memory. As models get more efficient, your hardware gets more capable over time.
Is this actually private? Could someone access my data?
Your AI runs entirely on your local network. No data leaves your home unless you explicitly configure OpenClaw to connect to messaging platforms (which requires internet but doesn't send your model data to the cloud). Ollama, Open WebUI, and your models are 100% local. For maximum privacy, you can run the server on an isolated network segment.
Can I run this alongside my regular work?
Absolutely. The Mac Mini M4 32GB handles Ollama inference alongside regular desktop work (browser, code editor, Slack) without issue. The only time we noticed slowdown was running heavy 14B inference while simultaneously compiling a large project.
Get our best setup tips and product picks each week.
Get the free newsletter →